A concrete pour needs a planned stopping point before the first truck arrives. For Charleston homeowners and businesses, concrete slab joints should coordinate pour stages, shrinkage control, and connections to nearby structures.
The pour-stop location affects panel shape, reinforcement details, and how neighboring sections carry traffic. Start by separating construction joints from the other joints your slab needs, then map their locations around the site’s layout and intended use.
Key Takeaways
- Place construction joints at planned pour boundaries, preferably along an intended contraction-joint line.
- Coordinate load transfer and reinforcement with the slab design, especially where vehicles or equipment cross.
- Keep shrinkage-control panels close to square, and provide isolation where adjoining structures restrain movement.
Joint planning works alongside drainage, compaction, and curing. It cannot compensate for loose fill or soil that loses support beneath the concrete.
Know Which Joint You Are Placing
Contractors sometimes use “expansion joint” loosely, but the distinctions matter. Each joint has a different purpose.
| Joint type | Main purpose | Typical location |
|---|---|---|
| Construction | Separates successive concrete placements | Planned boundary between pours |
| Contraction, or control | Encourages shrinkage cracking along a selected line | Within the slab’s panel layout |
| Isolation | Allows independent movement at a boundary | Where concrete meets fixed or independently moving elements |
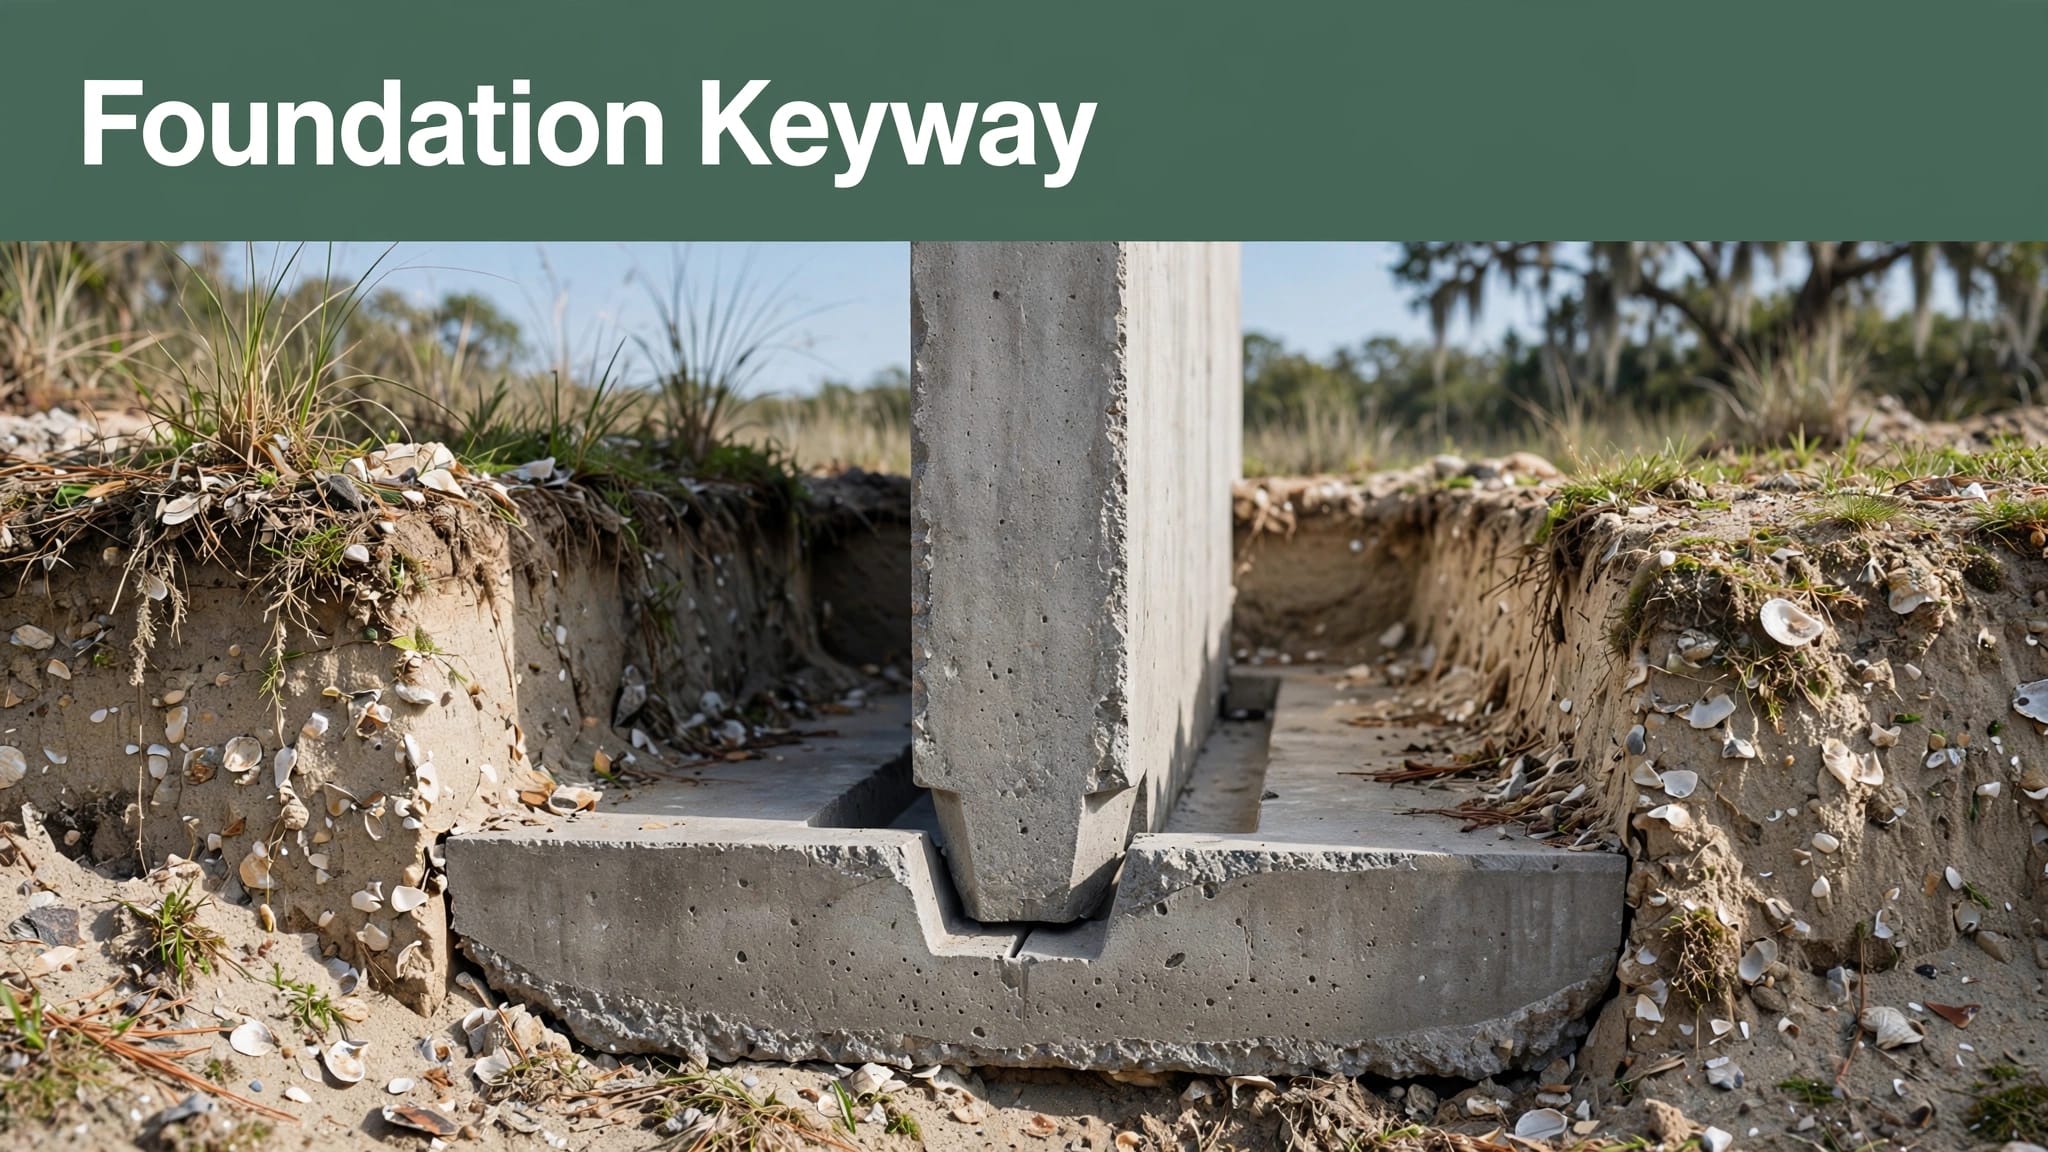
A construction joint forms where one placement ends and another begins. Depending on its design, it may also accommodate movement, but that needs an intentional detail.
The American Concrete Institute’s slab joint planning guidance distinguishes these functions and addresses isolation around walls, columns, footings, and other elements.
For a garage approach or patio beside a house, review concrete isolation joint placement separately. A pour boundary does not automatically provide the separation those connections need.
Place Construction Joints at Planned Pour Boundaries

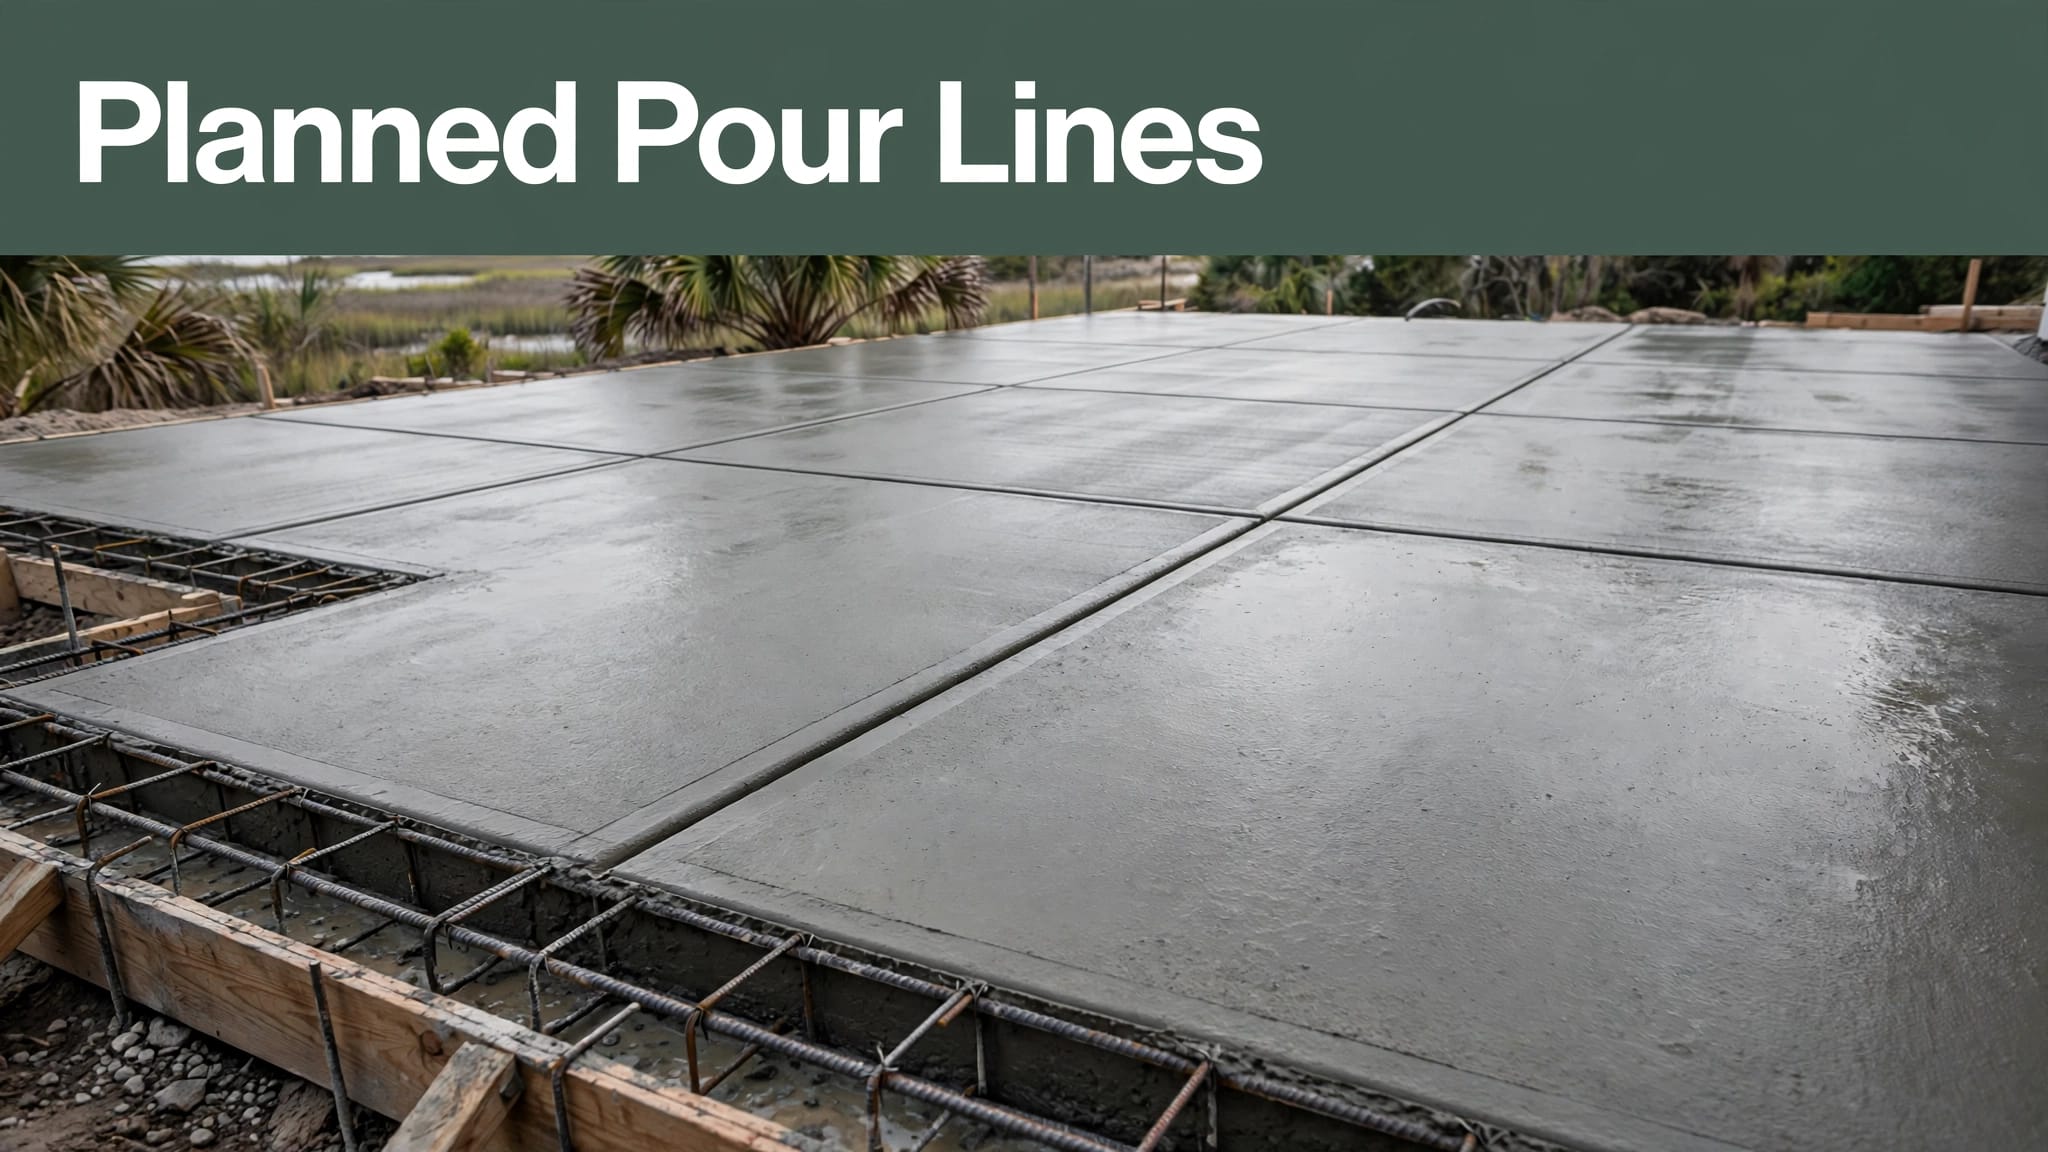
The stopping point should appear on the layout before placement begins. Truck access, crew capacity, weather protection, and finishing time all influence how much concrete can be completed in one stage.
Align the Stop With the Joint Layout
Where feasible, locate the construction joint on a planned contraction-joint line. This keeps the pour sequence consistent with the finished panel layout instead of introducing an extra boundary through a panel.
ACI’s construction-joint location recommendations also advise placing a construction joint at least 5 feet from another parallel joint, where possible. That guidance helps avoid narrow strips between nearby joints.
Treat these recommendations as planning guidance. Project specifications and structural drawings may require a different arrangement.
Prepare for an Interrupted Pour
Unexpected delays can force a stop before the planned boundary. The crew should have a contingency location and a way to form the edge properly.
If an interruption prevents fresh concrete from being integrated with the earlier placement, the resulting interface needs review. Finishing across it cannot restore continuity.
For structural work, obtain the designer’s direction before changing the stop location. A foundation slab, thickened edge, or reinforced equipment pad may need details that differ from ordinary exterior flatwork.
Coordinate Load Transfer Across the Construction Joint
A straight, clean edge is only part of the detail. The slab’s use determines whether neighboring placements need to transfer loads while allowing movement.
Plan for Wheels and Equipment
A concrete driveway in Charleston, SC, must account for vehicles crossing joints. Commercial slabs may also carry carts, delivery traffic, or concentrated equipment loads.
Where the design calls for dowels or another load-transfer system, coordinate placement, alignment, and movement allowance before pouring. Poorly positioned hardware can interfere with the intended joint behavior.
Every construction joint does not need dowels. Slab thickness, loading, support conditions, and the designer’s requirements determine the detail. Ask how the joint will perform under the traffic expected at that location.
Follow the Reinforcement Detail
Reinforcement continuity is a design decision. Some construction joints require reinforcement to continue across the interface; other details permit separation or movement.
Avoid assuming that tying every new placement to the old one improves performance. Likewise, do not cut reinforcement simply because a joint appears on the surface.
For foundations and structural slabs, the approved drawings control. The contractor should identify which bars continue, which stop, and what joint-face preparation the specification requires before the next placement begins.
Lay Out Concrete Slab Joints Around Panel Geometry
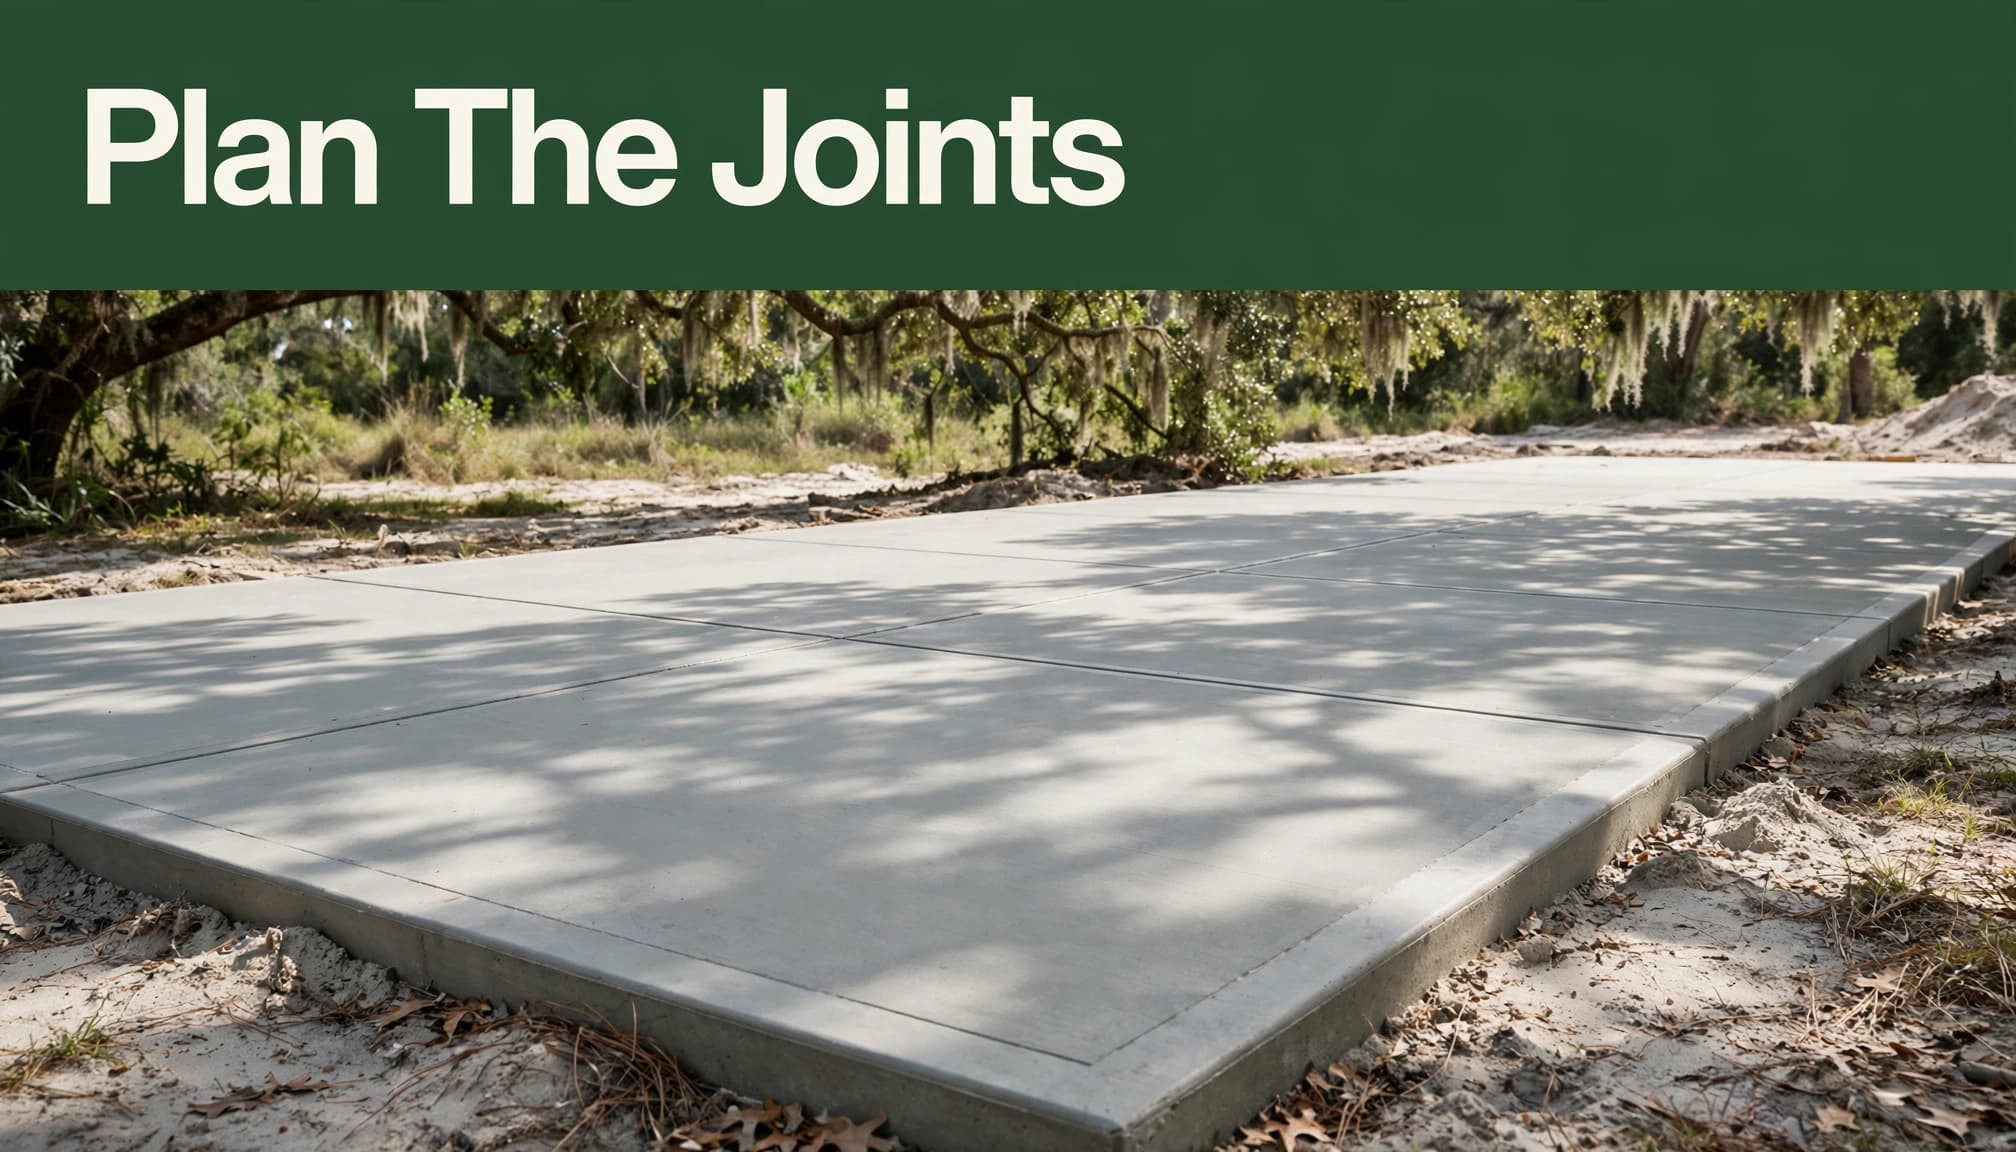
Construction joints need to fit within the broader contraction-joint plan. Otherwise, a sensible pour sequence can still leave poorly shaped panels.
Use Thickness as a Starting Point
NRMCA’s joints in slabs on grade guidance recommends spacing contraction joints at 24 to 36 times slab thickness. For a 4-inch slab, that gives roughly 8 to 12 feet.
This is a rule of thumb, not a universal Charleston code requirement. Concrete properties, reinforcement, shrinkage, and project specifications affect spacing.
Do not use the formula to select slab thickness. Thickness must suit the intended loads and supporting ground; the joint layout follows that design.
Address Corners and Changes in Width
Square panels are preferred. Avoid long, narrow rectangles and joint arrangements that leave L-shaped sections around steps, columns, or building corners.
Inside corners deserve attention because they concentrate stress. Align joints with those locations where practical, and coordinate irregular shapes before forms go down.
Keep contraction-joint lines continuous rather than staggered. For garage approaches, curves, and widening aprons, driveway control joint placement needs more thought than dividing the total driveway length into equal sections.
Form Control Joints Deep Enough and Early Enough
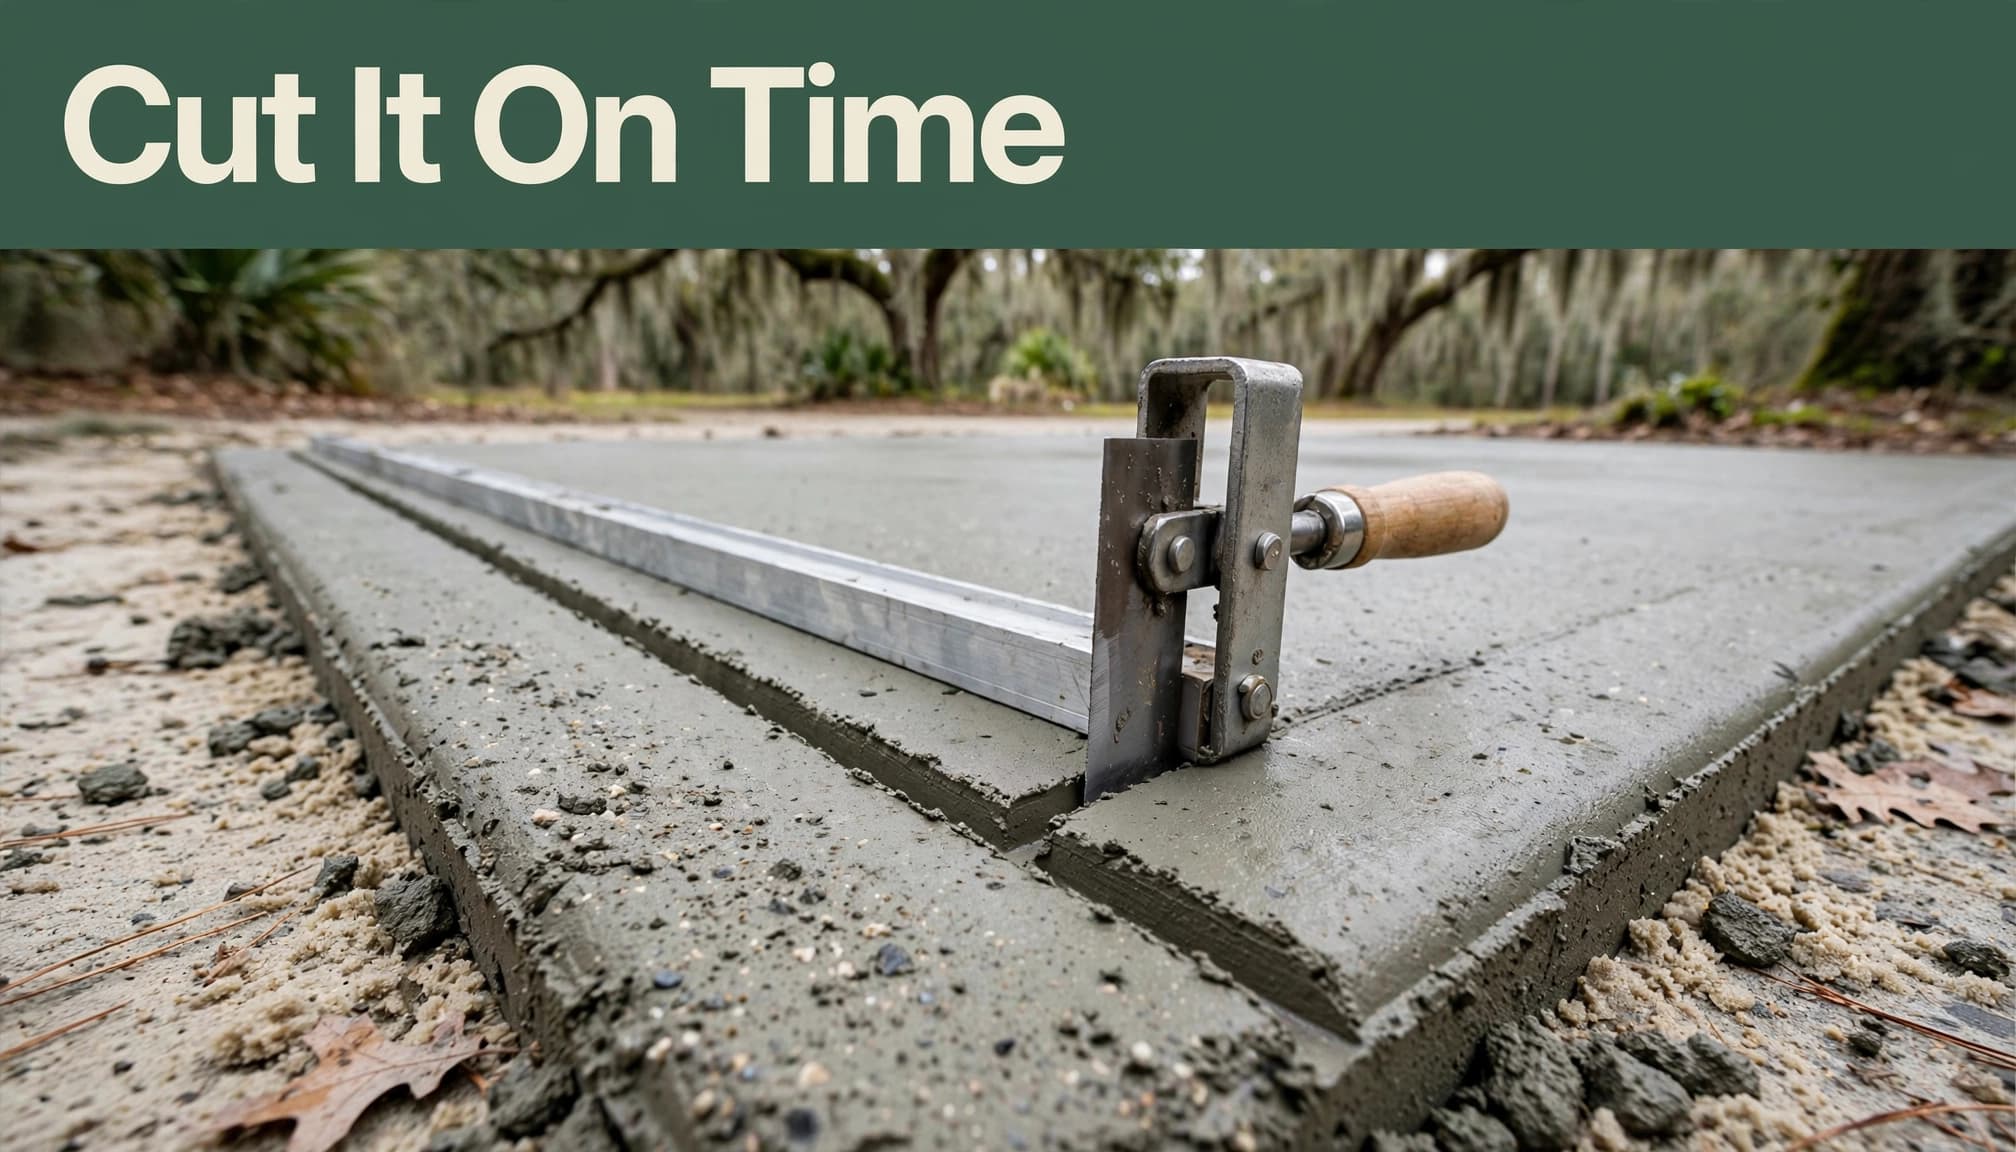
Conventional tooled or saw-cut contraction joints generally need a depth of at least one-quarter of the slab thickness. That means 1 inch for a 4-inch slab or 1.5 inches for a 6-inch slab.
Cutting also needs to happen before uncontrolled shrinkage cracks develop, while avoiding excessive damage to the joint edges. There is no single reliable hour count for every pour.
Temperature, wind, concrete mix, equipment, and setting behavior affect the cutting window. Therefore, schedule the cutting crew as part of placement, rather than arranging a return visit afterward.
ACI’s floor and slab construction guide addresses joint construction alongside finishing and curing. A groove that looks neat can still perform poorly if it is shallow or late.
Address Lowcountry Soil and Water Before Placement
A Lowcountry concrete contractor should examine support conditions before finalizing the pour plan. Nearby properties can have different fill histories, drainage patterns, and soil profiles.
Prepare Consistent Support
Charleston-area sites can include sandy material, clay-rich pockets, organic soil, and disturbed fill. Moisture changes affect these materials differently, so one preparation method does not fit every lot.
Remove or treat unsuitable material according to the project requirements. Place approved fill in controlled lifts, compact it properly, and complete specified testing before concrete covers the base.
During concrete slab installation in Charleston, joints manage movement within and between placements. They cannot prevent settlement over an untreated soft spot.
Keep Runoff Away From Vulnerable Edges
Roof runoff, low grades, and standing water deserve separate solutions. Water can soften supporting soil or carry fine material away beneath slab edges.
Gorilla Concrete’s guidance on high water tables and slabs connects those moisture concerns with preparation and drainage.
A well-placed joint cannot keep two slab edges level if the supporting ground settles unevenly.
Coordinate downspouts, finished slopes, drainage outlets, and neighboring foundations before setting forms.
Fit Joints Into Patios, Pool Decks, and Decorative Work
A stamped concrete patio in Charleston needs the structural joint layout established before the decorative pattern. Aligning joints with pattern lines can make them less noticeable, but the pattern must not dictate unsafe panel shapes.
Shallow decorative grooves do not automatically function as control joints. Confirm their depth and purpose rather than relying on appearance.
For pool deck concrete in Charleston, coordinate construction boundaries with deck geometry, drains, and required isolation at adjoining pool elements. Drainage slope remains a separate requirement; adding joints will not correct standing water.
Tabby concrete in Charleston also needs the same planning. Oyster-shell texture changes the surface appearance, while the base, joint arrangement, and curing still determine performance.
Discuss finish expectations at staged pours as well. Separate placements can show color or texture differences, so stopping locations should account for both construction needs and the finished appearance.
Ask for a Joint Plan Before Approving the Pour
When selecting a concrete contractor in Charleston, SC, ask to see the proposed pour boundaries and control-joint layout. The estimate should identify base preparation, thickness, reinforcement, finishing, curing, and any specified joint hardware.
Also confirm who approves changes if weather or delivery problems interrupt placement. Commercial work needs clear responsibility among the owner, contractor, and designer.
Before scheduling, ask how joint edges will be finished and whether the design requires sealant or filler. Those materials have different functions and maintenance needs.
To discuss a new slab or replacement project, Get a Free Quote. Share the intended use, site access, drainage concerns, and existing structures so the scope addresses more than the visible finish.
Frequently Asked Questions
Can a Construction Joint Also Control Cracking?
It can coincide with a planned contraction-joint line when the detail supports that function. However, reinforcement and load-transfer requirements still need coordination. Merely stopping a pour does not establish a complete joint design.
Should a Patio Be Tied to the House?
Do not assume it should. A patio may need isolation from the building to permit independent movement. Foundation connections require project-specific review rather than a standard habit of drilling and adding bars.
Can Joints Prevent Every Crack?
They reduce random shrinkage cracking when properly planned and constructed, but they do not guarantee crack-free concrete. Poor support, restraint, loading, late cutting, and inadequate curing can still cause damage.
Put the Pour Boundaries on the Plan
Construction joints belong at deliberate stopping points that fit the slab geometry and its load-transfer requirements. Coordinate them with control joints and isolation details before placement begins.
For Charleston projects, stable support and drainage deserve equal attention. A clear joint plan helps the crew complete each pour without leaving the next placement, or the finished slab’s performance, to chance.